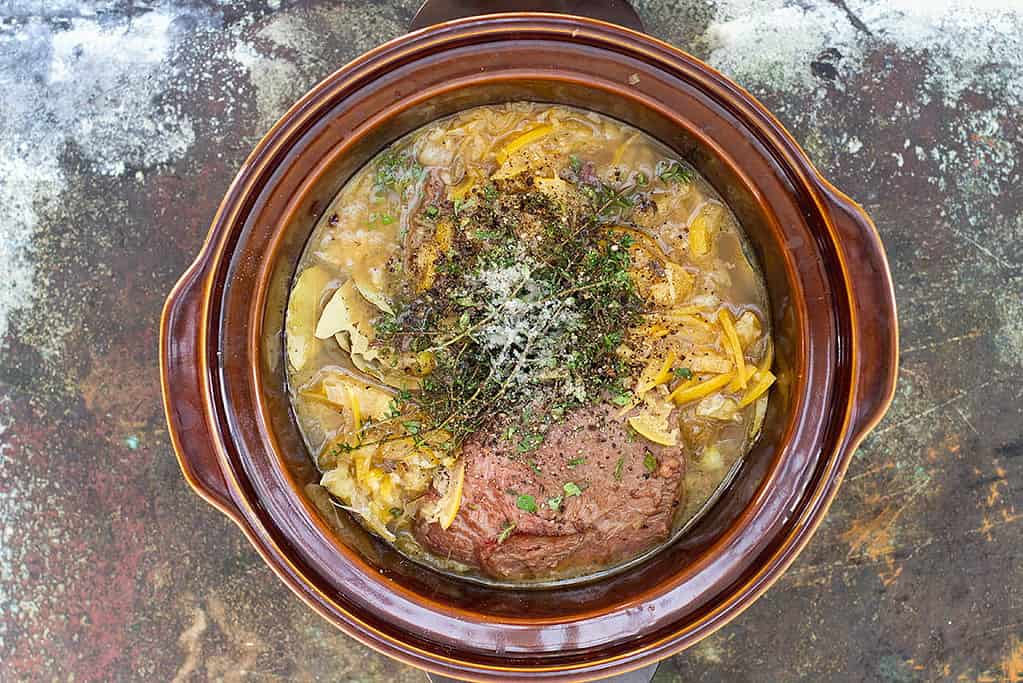
the best moroccan beef cheeks recipe
I wrote down this recipe for these moroccan beef cheeks many moons ago, perhaps bordering on 7 – 8 years past when Hubbard and I were renovating our first house. It was scribbled down in one of my recipe note books I used to keep. It was then made a few times over, then most likely packed away in a box when we moved house to be lost for years to come. At some point the little book was found again and Hubbard has taken the recipe over as his ‘go to’ for slow cooker dishes. He uses this base recipe for not only beef cheeks, but also lamb shanks and other cuts of red meat suitable for slow cooking.
As part of taking the recipe for these moroccan beef cheeks over, he started an obsession with keeping some of the broth each time and keeping it aside for the next batch, essentially creating his own master stock. Before we left Brisbane his master stock at last count was 9 cycles old. It was one of the hardest things to leave behind!
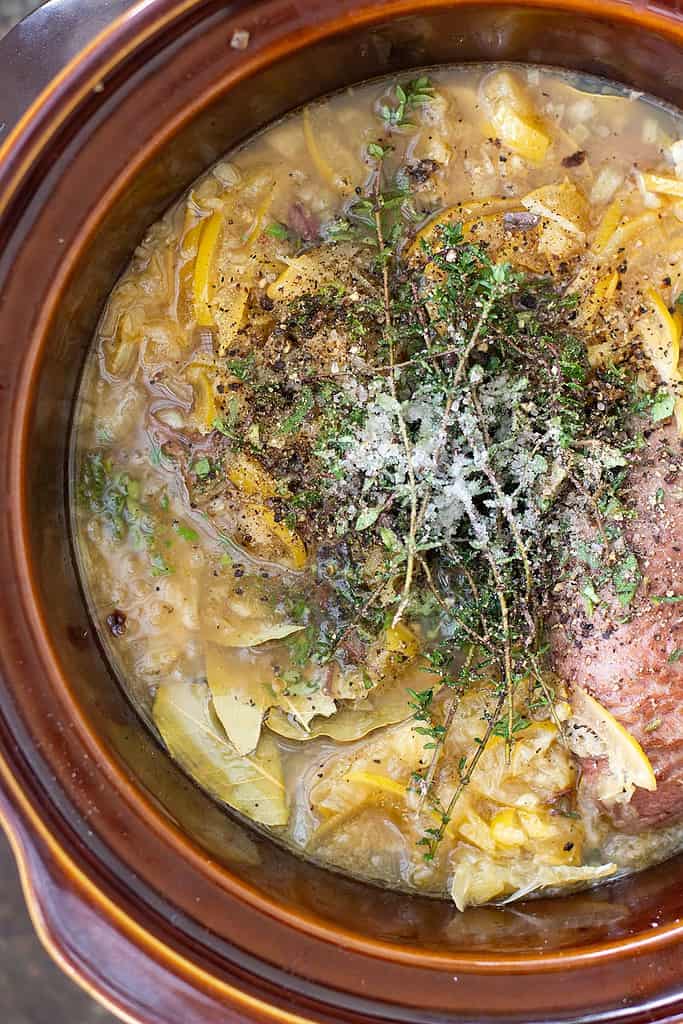
how to make master stock
Master stock is essentially a stock that has been taken from one initial cook and then reused again and again in recipes to follow. The stock mixes with the new ingredients each time, though in essence elements of the original master stock are repeatable used in each new stock that is set aside.
Making master stock is hardly a science. All it takes is setting aside at least 1 cup (we like to use 2 cups) of the stock liquid at the end of the cook. Place the stock in a jar with enough room at the top to allow for expansion when it is frozen. Once the stock is cool, place the lid on and put your master stock in the freezer till your next use.
Then, next time you go to make your slow cooked or braised dish, add the master stock with all the other ingredients (usually inclusive of some fresh stock). If the recipe calls for 4 cups of stock, use 2 cups of fresh stock and 2 cups of your master stock (as done in this beef cheek recipe).
Once the dish has finished its cook, before serving, once again take out 2 cups of the stock and repeat the above. There is no limit to the time that you can continue to do this! As long as you look after your stock and ensure it’s kept in the freezer, along with ensuring it is used relatively often. For instance, a 6 month break between seasons is fine, but I would probably start fresh if a master stock had been frozen for over a year without being used.
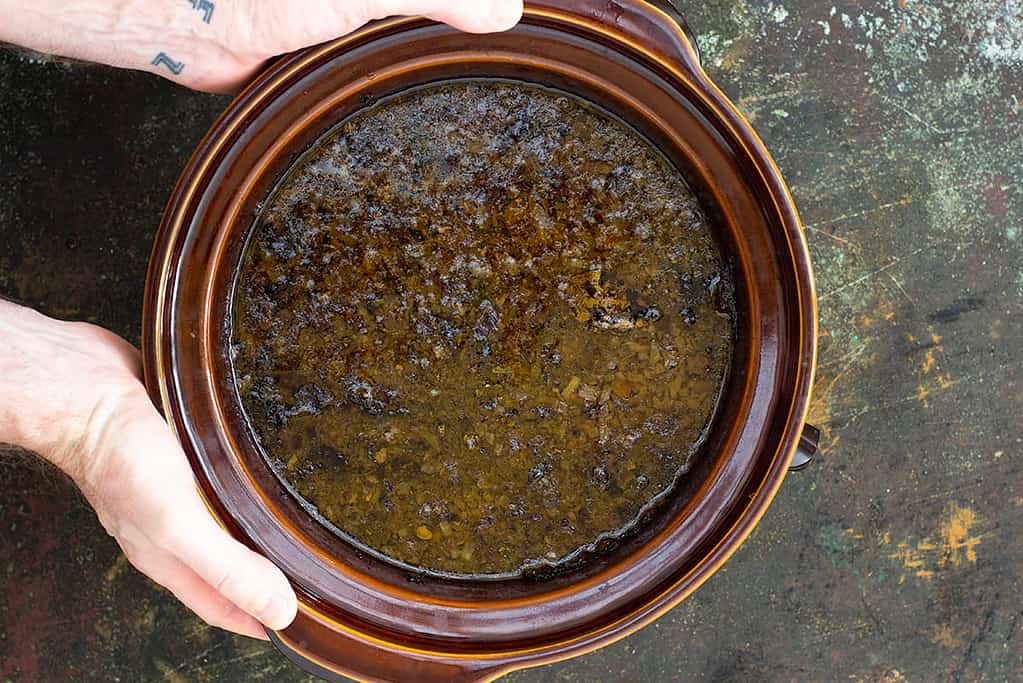
Apparently the oldest master stocks in China are over 100 years old! I’d like to think if we can keep ours going again that we can hand it down to family and create a generational master stock.
So why would you use master stock? Master stock is a way of imparting a strong depth of flavour. Think about the way a braised dish or a curry improves with flavour once it’s had a day or two in the fridge. The flavours intermingle and really develop. A master stock is a way of taking on the deep flavours of the meats, vegetables and spices to create a stock base like no other.
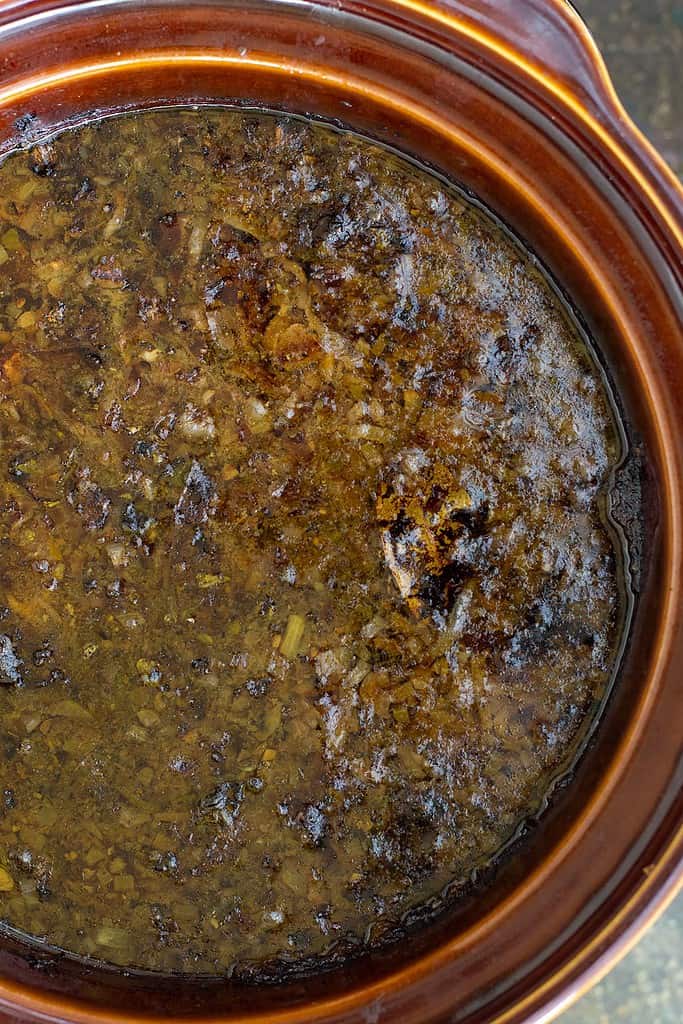
how to make fodmap friendly beef cheeks
I always like to give you ways to change up these recipes to make them FODMAP friendly or suitable for other low fermentable protocols. Here are my tips on how to do so:
- Use 1 bulb of fennel finely diced instead of onion or green ends of spring onions
- Use apple cider vinegar & maple syrup option instead of malt vinegar
- Use a low FODMAP chicken stock or broth
Other than those small changes this recipe should serve most. If you are sensitive to sweeteners you could leave out the maple syrup. This recipe is not really great for histamine reactivity, as even if its cooked in a pressure cooker to quicken the cooking time, it still contains a lot of high histamine ingredients.
Like what you’re seeing? Subscribe for new recipes and nutrition tips every week!
the best side dishes for beef cheeks
Braised meat dishes like these moroccan beef cheeks are quite hearty and heavy. Therefore, they work well with sides that help cut through the richness. In saying this, braised meats and all their juices definitely require some sort of base to be served on that acts as a sponge for all that flavour. That is where the classic union of beef cheeks and mash come together. Here are some of my favourite combinations to serve these moroccan beef cheeks with:
- creamy polenta with rocket dressed in lemon & evoo
- cauliflower and millet mash with watercress dressed in balsamic & evoo
- mashed potato & massaged kale
- mashed parsnip & cauliflower w steamed broccoli
- grains salads tossed with fresh herbs like this roast cauliflower & quinoa salad
For Hubbard and I, we tend to jump around between all of the above. He does a mean mashed potato where he dices up onion so finite that it blows my brain, then mixes this into the fluffy mash with so much extra virgin olive oil that the potato has a light green hue. God it’s good. I’ve talked his mashed potato up before to friends and family and it always impresses.
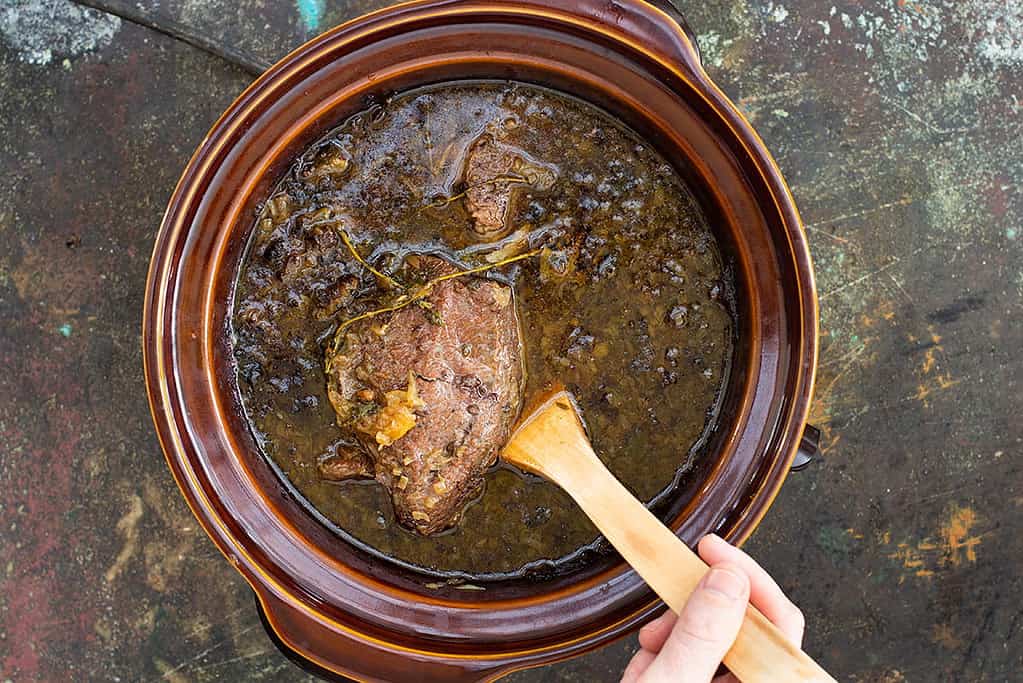
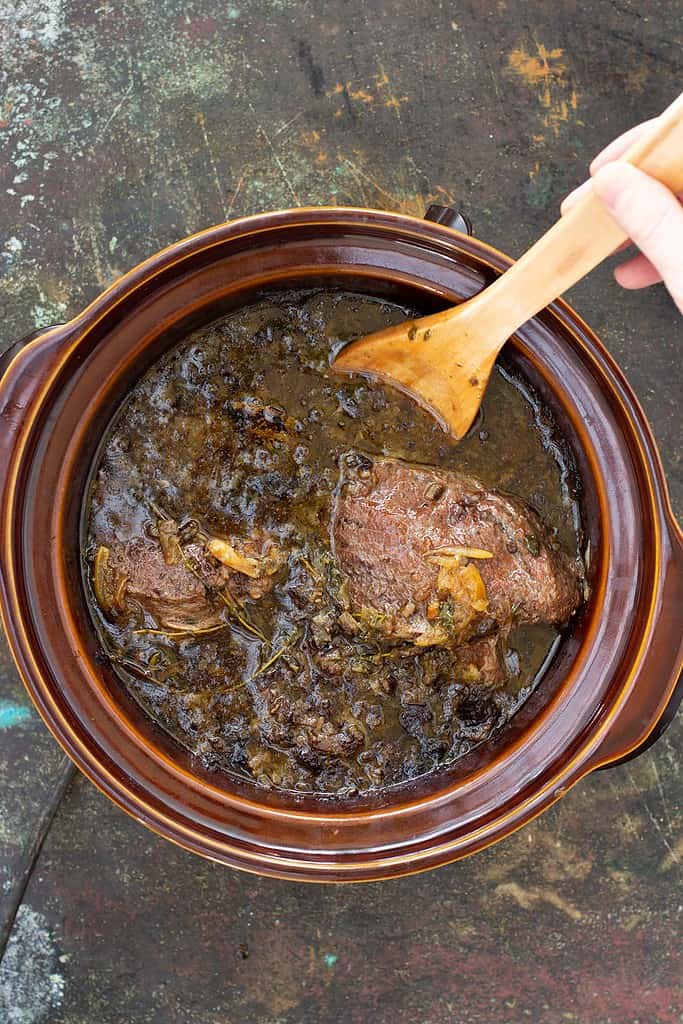
At the time of writing, these particular moroccan beef cheeks are in the slow cooker wafting their scent throughout the house. With the toasty fire place crackling away and a rainy, cloudy day to match, it almost makes lockdown feel like a distant memory….almost.
Need personalised nutrition advice catered to your needs?
If you are after personalised nutrition advice and dietary planning individualised to your health and dietary needs then contact us at The JCN Clinic with your enquiry. We are always happy to answer any questions you have!
moroccan beef cheeks recipe
- serves
- 8
- preparation time
- 60 min
- cooking time
- 12 hours
ingredients
- 1 medium sized onion, diced
- 1.5kg free range beef cheeks
- 4 cups chicken stock or broth (or 2 cups stock & 2 cups master stock*)
- 1/4 cup malt vinegar (or apple cider vinegar + 1/2 tbsp maple syrup)
- 3 anchovies
- 3 bay leaves
- 6 quarters preserved lemons, finely sliced pith and all)
- 3 tablespoons freshly chopped oregano
- 6 sprigs fresh thyme
- 1 teaspoon salt
- 1 teaspoon pepper
- extra virgin olive oil for cooking
method
*you can read about master stock in the blog post above, however you will naturally be making your own master stock when creating this recipe for moroccan beef cheeks. If you are not interested in storing/keeping master stock (are you crazy?!) then simply add more time onto your sauce reduction stage below.
Fill slow cooker with chicken stock or broth and turn to high setting.
Pre-heat a heavy based saucepan to high heat. Add a generous amount of extra virgin olive oil to make sure the pan is liberally coated.
Add in the beef cheeks and brown on each side for one minute till golden. Remove beef cheeks from the pan and add into the slow cooker with the stock.
Turn the heat down to low on the saucepan and now add the diced onion to with a little more extra virgin oil and cook until soft and transparent, around 2 – 3 minutes. Add the onions to the slow cooker with the beef cheeks and stock.
Add the malt vinegar to the saucepan to deglaze the pan for 1 minute and the pour the vinegar with all the bits from the saucepan into the slow cooker.
Now add to the slow cooker the anchovies, bay leaves, preserved lemon, oregano, thyme, salt and pepper.
After 1 hour on high, turn the slow cooker down to it’s low setting and leave for 12 hours.
After 12 hours (give or take) your beef cheeks will be ready. You can test them by gentle inserting a fork into the meat – it should break apart very easily. You can let the beef cheeks cool down in the slow cooker, then transfer to the fridge until ready to eat. However, before transferring to the fridge you can remove your master stock.
Take a ladle and remove 2 cups of the beef cheek sauce. Place in a jar and ensure you leave enough room at the top of the jar for the liquid to expand when it freezes. Place the master stock jar into the fridge to cool, then later into the freezer.
Remove your moroccan beef cheeks from the fridge about 1 hour before you are ready to serve them. Carefully remove the beef checks from the sauce with a wide spoon every so gently, as they will be very delicate. Set the beef cheeks aside on a plate and cover with foil.
Pour the remaining sauce from the slow cooker into a wide based saucepan. Turn the heat to high and bring the beef cheek sauce to the boil, then leave it to simmer on high for approximately 20 – 25 minutes. The aim is to reduce the sauce down by half and create a more viscous finish. Taste the beef cheek sauce and adjust the seasoning to taste (we always add more salt and pepper here).
Once you are happy with the beef cheek sauce reduction, turn the saucepan down to a low simmer and carefully add in the beef cheeks and spoon over the hot sauce. Cover the saucepan with a lid and leave for a few minutes allowing the beef cheeks to warm up again (they will still be warm anyway from the foil wrap, this just brings a little more heat back in).
To serve the moroccan beef cheeks, carefully lift them out and place on top of your favourite accompaniment such as mashed potato, polenta or cauliflower and parsnip mash. Spoon over the beef cheek sauce ensuring you get all the good bits from the saucepan.
Serve while hot with some rocket dressed with evoo and acv.
nutritional information for moroccan beef cheeks
- These Moroccan beef cheeks are an abundant source of iron and vitamin B12. The added preserved lemons also increase the vitamin C of the dish. Beef cheeks are also quite easy to digest in relation to other forms of cooked red meat due to the slow cooking time, which aids the breaking down of the meat muscle fibres allowing easier digestion.
- As mentioned above, these moroccan beef cheeks can be made low FODMAP with a few simple tweaks. The green ends of spring onion are also an easier addition or modification to regular onion for a lower FODMAP option.
Jessica Cox is a qualified practicing Nutritionist with a Bachelor Health Science (Nutrition) and over 15 years of clinical experience. She is the founder and director JCN Clinic, published author and established recipe developer. Jessica is well respected within health and wellness space for her no fad approach and use of evidence-based nutrition.


Is this SIBO compliant? 🙂
Hi Jai. It sure is if you follow the recommended edits in the blog post to make it low FODMAP/SIBO friendly. 😉